Professional Hair Setting and Curling
Introduction: What is Professional Hair Setting and Curling?
Professional hair setting and curling refers to the techniques used by professional hairstylists to create beautiful curls and waves in the hair using rollers. This technique is often preferred by stylists as it allows for long-lasting curls and adds volume and bounce to the hair. Whether you have straight, wavy, or curly hair, roller hair setting can transform your tresses and give you salon-ready hair.
Benefits of Professional Hair Setting and Curling
There are numerous benefits to professional hair setting and curling. Firstly, this technique allows you to achieve long-lasting curls that can stay intact for hours. Unlike other methods like using curling irons, rollers create curls with a softer and more natural look. Roller hair setting also adds volume and body to the hair, making it look fuller and thicker. Additionally, this method is less damaging to the hair as it does not subject it to excessive heat. Overall, professional hair setting and curling can give you the perfect hairstyle for any occasion.
Tools and Products Required for Professional Hair Setting and Curling
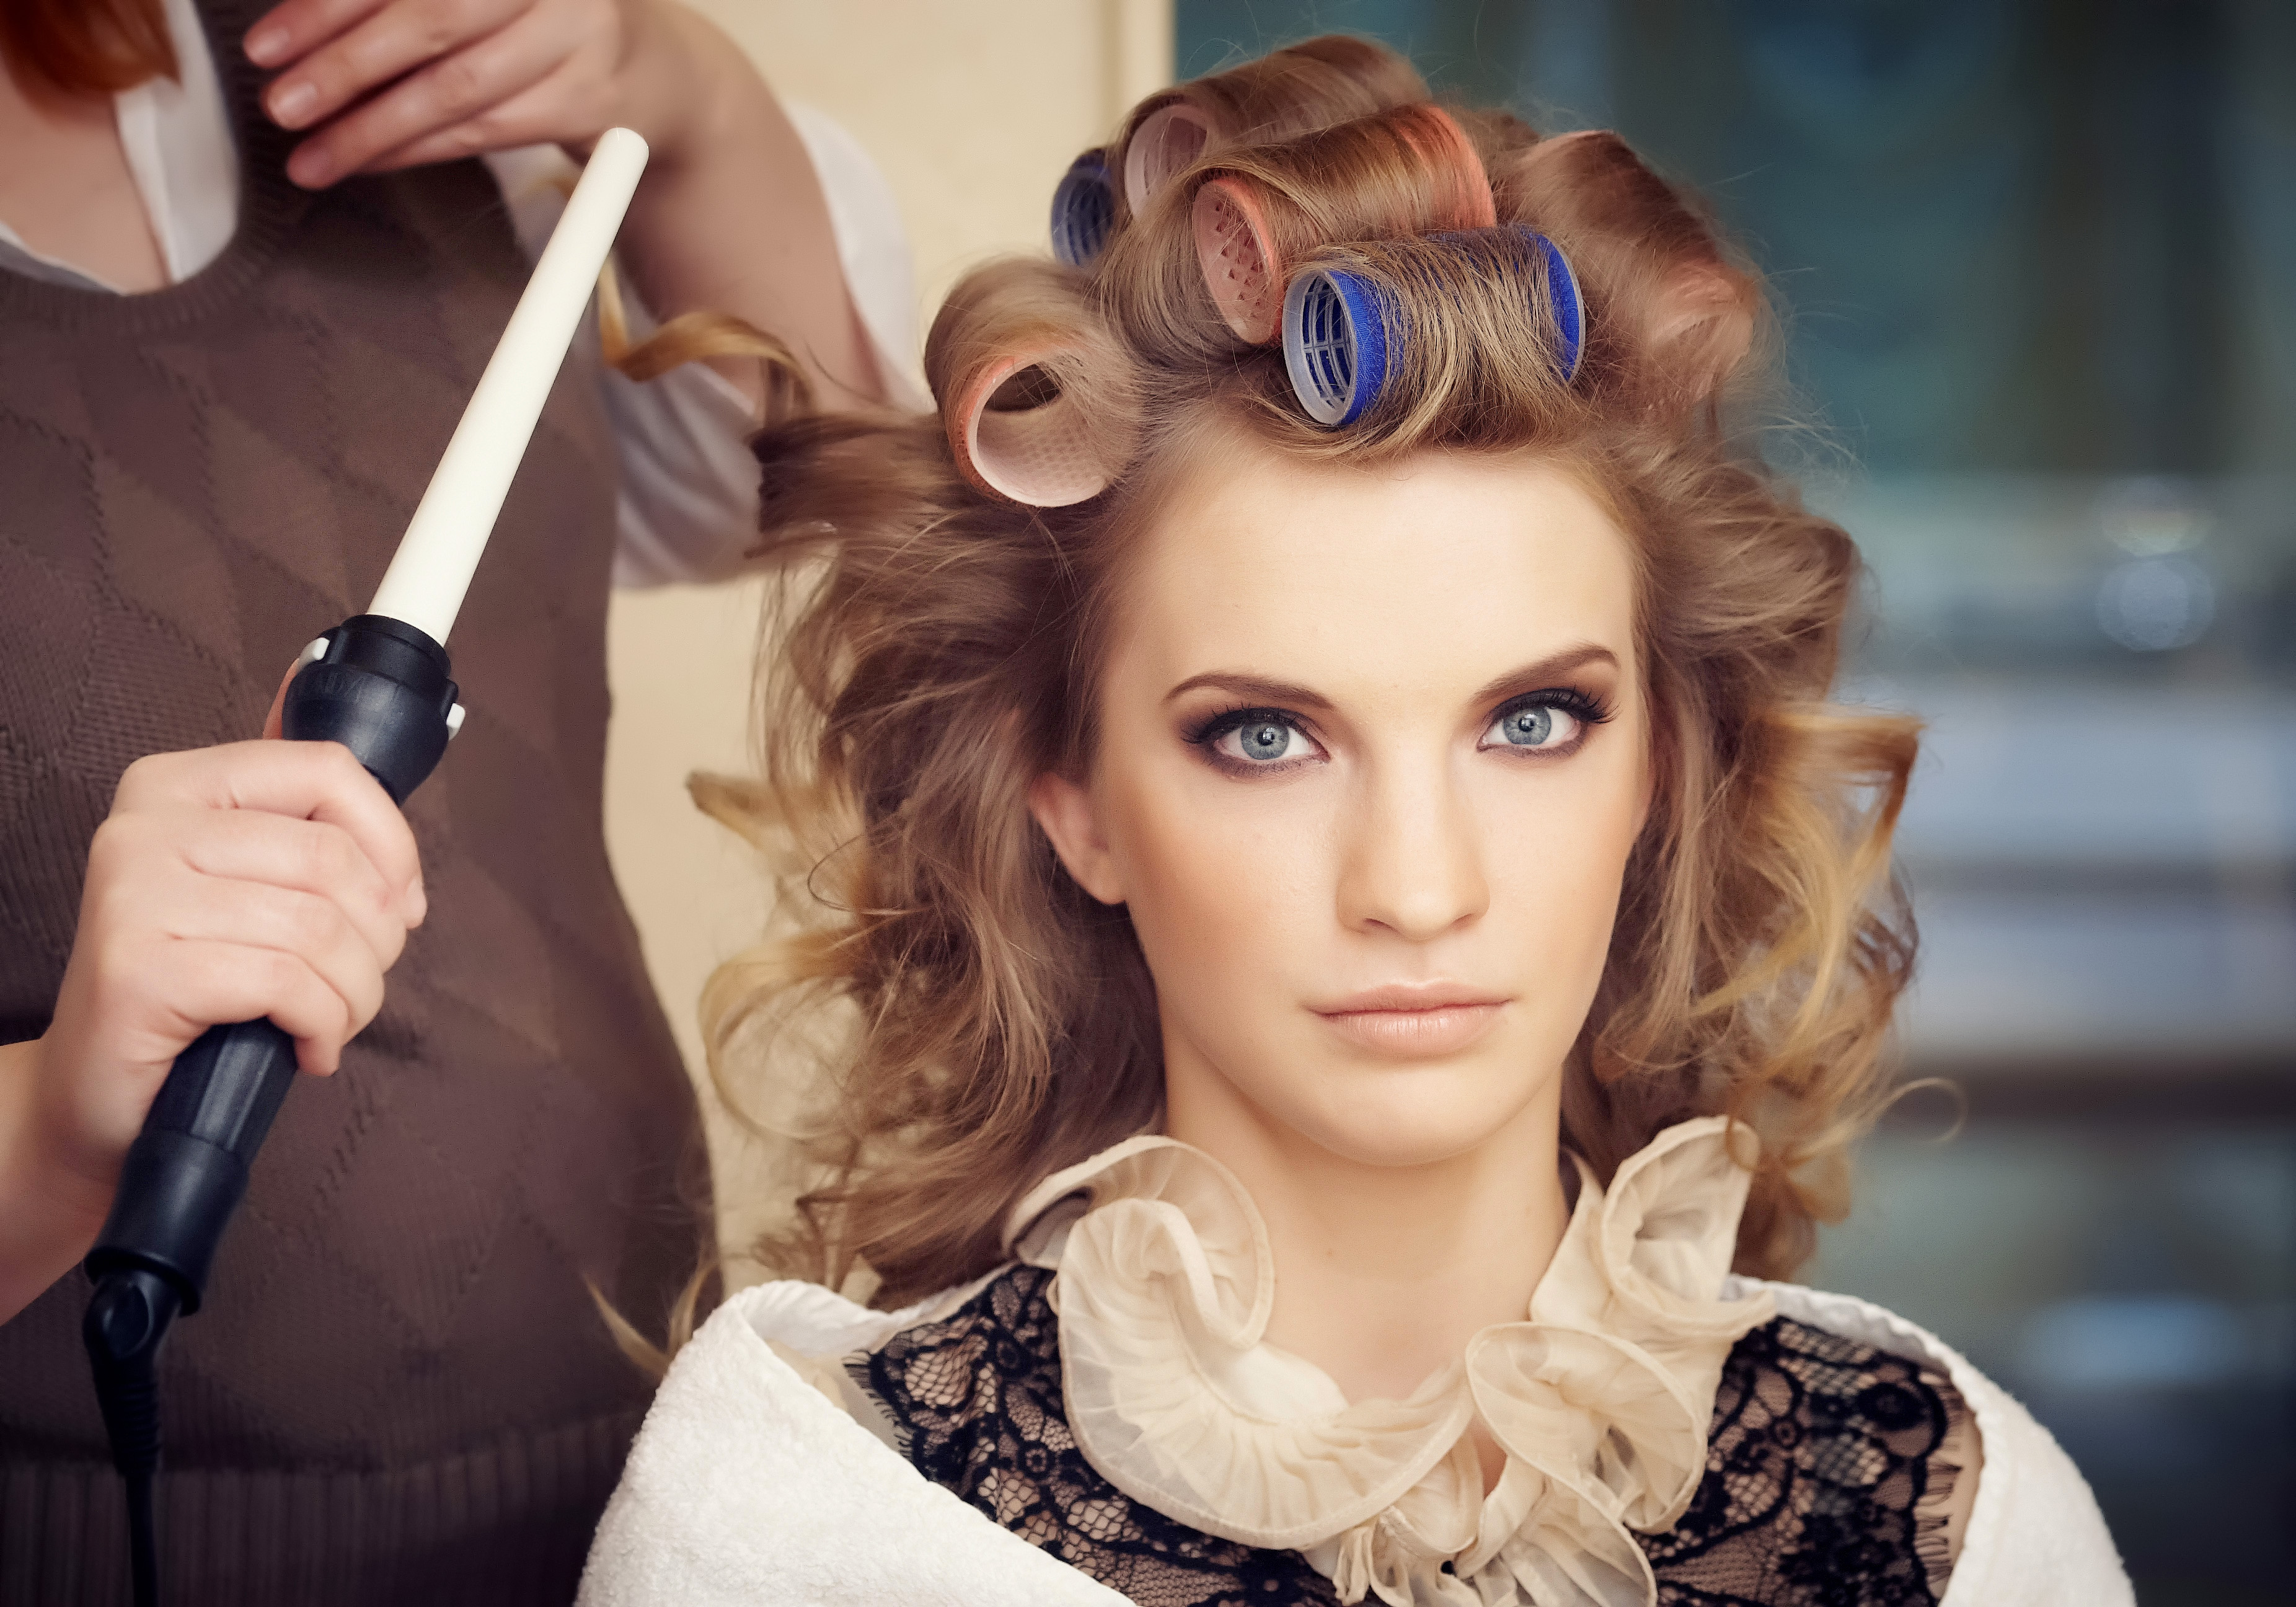
To achieve professional hair setting and curling at home, you will need some essential tools and products. The first and most important tool is the rollers themselves. Rollers are available in various sizes and materials, such as velcro, foam, or heated rollers. The size of the rollers will determine the type of curl you will achieve, with smaller rollers creating tighter curls and larger ones creating looser waves.
In addition to rollers, you will need some clips or pins to secure the rollers in place. These can be butterfly clips or bobby pins, depending on your preference. It’s also recommended to have a rat-tail comb to section the hair neatly and create even curls. Lastly, a setting lotion or mousse is essential to help the curls hold their shape and longevity.
Step-by-Step Guide to Professional Hair Setting and Curling
Now that you have the necessary tools and products, let’s dive into the step-by-step guide to achieving professional hair setting and curls.
Step 1: Start with clean, dry hair. Make sure it’s free from any product residue or excess oil. If needed, you can use a dry shampoo to refresh the hair.
Step 2: Section the hair into manageable parts using the rat-tail comb. Divide it into top, middle, and bottom sections. Secure each section with a clip or pin to keep it out of the way while working on others.
Step 3: Take a small section of hair, roughly no wider than the roller’s width, and comb through it to remove any tangles or knots. Apply a small amount of setting lotion or mousse to the section, starting from the roots and working your way down to the ends.
Step 4: Place the roller at the end of the section and begin rolling it up towards the scalp. Ensure that the hair is evenly distributed around the roller to avoid any creases or uneven curls. Use butterfly clips or bobby pins to secure the roller in place.
Step 5: Repeat steps 3 and 4 for each section of hair, moving from the bottom section to the middle and then the top. Make sure all the rollers are secure and comfortable to sleep in if you plan on leaving them overnight.
Step 6: Once all the rollers are in place, you can either let your hair air dry or use a hooded dryer for speedier results. If using a dryer, follow the manufacturer’s instructions and set it on a low heat or cool setting to avoid damaging the hair.
Step 7: Allow the hair to cool completely before removing the rollers. This ensures that the curls have set and will last longer.
Step 8: Gently unroll each roller, starting from the bottom and working your way up. Avoid tugging or pulling on the hair to prevent creating frizz or disrupting the curl formation.
Step 9: Once all the rollers are removed, use your fingers or a wide-toothed comb to separate and shape the curls. You can apply a small amount of styling cream or serum to add shine and control flyaways if desired.
Quick Tips for Professional Hair Setting and Curling
– Choose the right size rollers for your desired curl type. Smaller rollers create tighter curls, while larger ones give more loose, wavy results.
– Section your hair neatly for a more even and polished look.
– Apply setting lotion or mousse from roots to ends to ensure the curls hold their shape.
– Allow the hair to cool completely before removing the rollers to ensure long-lasting curls.
– Avoid touching or combing the hair excessively after removing the rollers to prevent frizz and maintain the curl formation.
– Use a wide-toothed comb or your fingers to separate and shape the curls for a natural, bouncy look.
Troubleshooting Tips for Professional Hair Setting and Curling
Sometimes, even with the correct techniques, issues can arise during the hair setting and curling process. Here are some troubleshooting tips for common problems:
– If the curls are too tight, use your fingers to gently loosen them and shake them out for a softer look.
– For looser curls, opt for larger rollers or roll the hair section less tightly.
– If the curls don’t hold, use a stronger setting lotion or mousse and ensure the hair is completely dry before removing the rollers.
– Avoid overloading the hair with product as it can weigh it down and make it appear greasy.
– If you encounter frizz, use a small amount of anti-frizz serum or oil to tame flyaways and smooth the hair.
Final Tips for Salon-Ready Hair
To achieve salon-ready hair using professional hair setting and curling techniques, keep these additional tips in mind:
– Practice makes perfect. It may take a few tries to get the hang of rolling the hair neatly and creating the desired curls.
– Experiment with different roller sizes and techniques to discover what works best for your hair type and length.
– Be patient and allow the curls to set and cool before removing the rollers. Rushing this step can result in curls that fall flat quickly.
– Avoid using excessive heat on the hair, as this can damage and weaken the hair shaft over time.
– Maintain your curls by sleeping with a silk or satin pillowcase to minimize friction and preserve the shape.
Conclusion
With the right tools, products, and techniques, achieving salon-ready hair with professional hair setting and curling is possible. Follow the step-by-step guide and utilize the quick tips and troubleshooting tips to transform your tresses into stunning curls and waves. Remember, practice and patience are key to perfecting this art form. With time and dedication, you’ll be able to master roller hair setting and enjoy salon-quality curls right at home. So, go ahead and unleash your inner hairstylist – beautiful curls await!